
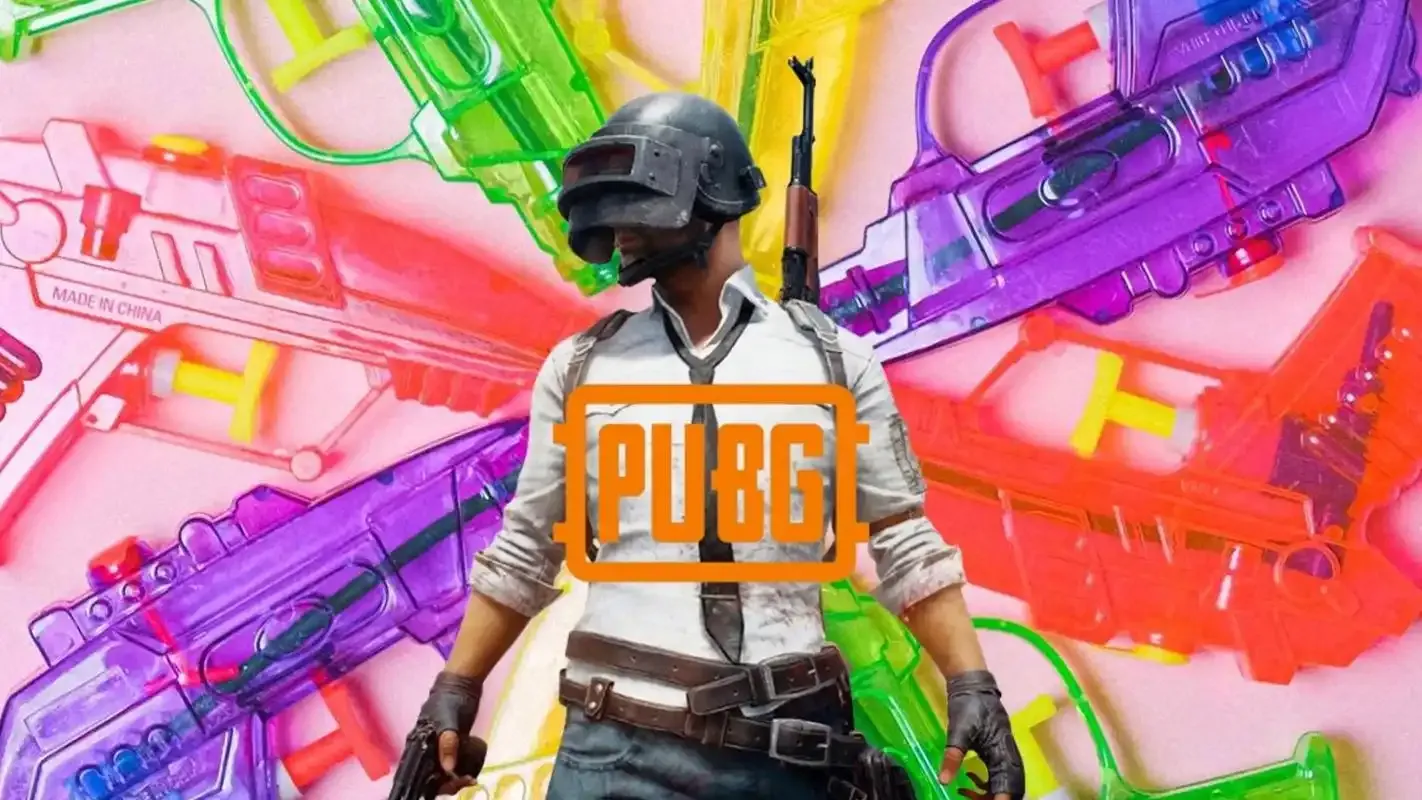
PUBG
How to Create Custom Skins in PUBG – Step-by-Step Tutorial & Guidelines
2026-01-29 16:37:31Games News
Custom skins are an excellent way to make your mark on PUBG’s battlegrounds, allowing you to unleash your creativity while adding a unique personal flair to your weapons, characters, and vehicles. While PUBG lacks a native built-in skin editor, you can craft one-of-a-kind custom skins using reliable external tools—whether for private enjoyment or to share with the community through official channels.This guide breaks down everything you need to know, from essential tools to step-by-step instructions, plus critical guidelines to avoid account penalties. Learn how to create custom skins in PUBG safely and effectively, even if you’re a beginner.
What You Need to Know Before Creating PUBG Custom Skins
Before diving into the creation process, it’s vital to understand PUBG’s rules and limitations to keep your account secure:
-
No Built-In Editor: Unlike some games, PUBG does not provide a native tool for designing custom skins. You’ll need third-party software to extract, edit, and repackage game files.
-
Private vs. Public Use: Custom skins created for private, offline use (e.g., testing in custom matches) are low-risk, but using modified skins in official online matches violates PUBG’s anti-cheat policies and can result in bans.
-
Official Guidelines: Any custom skin using PUBG’s intellectual property (IP)—including character models, weapon designs, or game lore—must follow Krafton’s Content Creation Guidelines. You own your creative design, but Krafton retains rights to all game IP used.
-
Submission Opportunities: Krafton has expanded its UGC (User-Generated Content) support in recent years, including workshop-like features for PC. Approved custom skins may be shared with the community or featured in events.
Essential Tools for Creating PUBG Custom Skins
Gather these tools to streamline the skin creation process—all are beginner-friendly, and many offer free alternatives:
-
Texture Extraction Tools:
-
UE Viewer (Unreal Engine Viewer): The most popular tool for extracting texture files from PUBG’s .pak archives (game file containers).
-
PAK File Extractor: Used to access and unpack PUBG’s core game files, where skin textures are stored.
-
-
Graphic Editing Software:
-
Adobe Photoshop: Ideal for detailed texture edits, color adjustments, and adding custom patterns (paid, with a free trial).
-
GIMP: A free, open-source alternative to Photoshop with all the essential features for skin design (perfect for beginners).
-
-
Optional Tools:
-
Hex Editor: For fine-tuning small file details (rarely needed for basic skin edits).
-
Blender: A free 3D modeling tool if you want to modify skin shapes (advanced, for experienced creators).
-
PAK File Editor: To repackage modified texture files back into PUBG’s .pak format after editing.
-
Pro Tip: Download tools only from official or trusted sources (e.g., Gildor’s homepage for UE Viewer) to avoid malware. Always back up your original PUBG game files before modifying them—this lets you restore the game if edits cause glitches.
Step-by-Step Guide: How to Create Custom Skins in PUBG
Follow these simple steps to create your first PUBG custom skin. We’ll focus on weapon skins (the most popular choice), but the process works similarly for characters, vehicles, and parachutes:
Step 1: Locate and Extract PUBG Texture Files
-
Open your PUBG installation directory (typically
C:\Program Files (x86)\Steam\steamapps\common\PUBG\TslGame\Content\Paksfor Steam users). -
Launch your PAK File Extractor and select the .pak file containing the skin you want to modify. Weapon textures are usually in files labeled “TslGame-WindowsNoEditor_Paks_0.pak” or similar.
-
Use UE Viewer to open the extracted .pak file, then navigate to the “Textures” folder. Search for your target weapon (e.g., “M416” or “AKM”) to find its base texture files (look for .uasset or .png formats).
-
Export the texture files as editable images (PNG is recommended) and save them to a dedicated folder on your computer.
Step 2: Design Your Custom Skin
-
Open the exported texture file in Photoshop or GIMP. Take note of the original file’s resolution and format—do not change these, as mismatched settings will cause graphical glitches in-game.
-
Start designing! Add custom colors, patterns, logos, or details to make your skin unique. For example:
-
Add a camouflage pattern for a tactical look.
-
Incorporate bold colors or gradients for a eye-catching design.
-
Add small details (e.g., scratches, decals) for realism.
-
-
Keep transparency settings consistent with the original texture. If the base skin has transparent areas (e.g., weapon grips), ensure your edits preserve these.
-
Save your edited texture file with the same name as the original (this ensures PUBG recognizes it) and overwrite the exported file in your dedicated folder.
Step 3: Repackage and Test Your Skin
-
Launch your PAK File Editor and import your edited texture file back into the original .pak archive. Ensure the file path matches the original (e.g., if you extracted the texture from “Textures/Weapons/M416”, place the edited file in the same location).
-
Repackage the .pak file and replace the original file in your PUBG installation directory (remember, you backed up the original earlier!).
-
Launch PUBG and create a private, offline custom match (never join official online matches with modified files). Spawn your weapon to test the skin—check for glitches, misaligned textures, or color issues.
-
If you encounter problems, restore the original .pak file and adjust your edits (e.g., fix resolution or file format) before retesting.
How to Submit Custom Skins to PUBG’s Community (Optional)
If you want to share your custom skin with other players, follow these steps to submit it via PUBG’s official channels:
-
Ensure your skin complies with Krafton’s Content Creation Guidelines: no offensive content, no stolen IP, and no designs that mimic official PUBG skins or mislead players into thinking it’s official.
-
Access PUBG’s Steam Workshop (for PC players) and download the official creator toolkit, which includes templates and submission instructions.
-
Use the toolkit to prepare your skin for submission, including preview images and a description.
-
Upload your skin to the Steam Workshop—Krafton will review it for compliance. Approved skins may be shared with the community or featured in in-game events.
-
For official partnerships or collaboration opportunities, contact Krafton via email at privacy@krafton.com.
Common Issues & Solutions for PUBG Custom Skins
Troubleshoot common problems with these quick fixes:
-
Skin Not Showing Up: Ensure the edited file has the same name, resolution, and format as the original. Double-check the file path in the .pak archive.
-
Graphical Glitches: Mismatched resolution or format is the main cause. Restore the original texture and re-edit with correct settings.
-
Anti-Cheat Warnings: Immediately stop using modified files in online matches. Delete the edited .pak file and restore the original to avoid bans.
-
Submission Rejected: Review Krafton’s guidelines and adjust your design—remove offensive content, original IP, or misleading details before resubmitting.
Final Tips for Creating PUBG Custom Skins
-
Start simple: Begin with basic color changes or small details before moving to complex designs—this reduces the risk of glitches.
-
Join creator communities: Connect with other PUBG skin creators on Reddit, Steam, or Discord to share tips, templates, and feedback.
-
Stay updated: Krafton regularly updates PUBG’s file structure and UGC tools—follow official announcements for changes that may affect skin creation.
-
Respect copyright: Never use third-party IP (e.g., logos, characters from other games) in your designs—this violates Krafton’s guidelines and can lead to legal issues.
Creating custom skins in PUBG is a fun way to personalize your gaming experience and showcase your creativity—when done safely and compliantly. By following this step-by-step guide, you’ll be able to design unique skins for private use or even share them with the global PUBG community. Remember to prioritize safety, follow official rules, and have fun experimenting with designs!
Payment Support


- About Us
- Shopping Guide
- Help Information
- Contact Us


Follow Us
©2005-2025 apptopup.com All Rights Reserved.
Element colors Electronic Entertainment Limited
Address: 19H MAXGRAND PLAZA NO. 3 TAI YAU STREET SAN PO KONG KL, Hong Kong
Address: 19H MAXGRAND PLAZA NO. 3 TAI YAU STREET SAN PO KONG KL, Hong Kong